The guide covers both Windows and macOS and is designed for people who haven’t used command-line tools before. Command-line tools let you talk directly to programs that don’t have a graphical interface.
What we’re doing here is fairly simple. Still, I encourage you to double-check the sources and confirm the commands rather than blindly trusting a blog.
On Windows we’ll use PowerShell (the built-in command tool), and on macOS we’ll use Terminal (the Mac equivalent). In this guide we’re going to use these tools:
- gallery-dl — the program that will download the media from X.
- Get cookies.txt LOCALLY — a browser extension that saves your login session into a text file so gallery-dl can fetch your bookmarks and likes.
Here is a very brief outline of what we’ll do:
- Set up folders
- Install gallery-dl
- Install Get cookies.txt LOCALLY and export your cookies
- Create the config file
- Start downloading
Safety Note 🔗
This method uses your Twitter login cookies. Cookies are small files your browser uses to stay logged in, and in this case they let gallery-dl fetch your likes and bookmarks. If someone else gets that file, they can use your account until you log out or clear sessions.
The applications we’re going to use (gallery-dl & Get cookies.txt LOCALLY) are both open source, well regarded and widely checked. I recommend you confirm this yourself, never share your cookies.txt, and delete it when you’re done.
Step 1: Set up folders 🔗
On your Desktop create a new folder called TwitterDownloader. Inside it, create another folder called downloads.
Your folder structure should look like this:
Desktop
└── TwitterDownloader
    └── downloads
Step 2: Install gallery-dl 🔗
How you install depends on OS, version, and any previous Python installs. The steps below are the route that works for most people.
macOS
- Install Python 3 from python.org.
- Download the latest macOS installer and run it. This also sets up
pip.
- Download the latest macOS installer and run it. This also sets up
- Install gallery-dl:
python3 -m pip install -U gallery-dl - Verify the install:
python3 -m gallery_dl --version
Troubleshooting error: externally-managed-enviroment
You've probably installed brew. If you've installed brew I trust that you can work out the next step to complete the installation.Windows
- Download the standalone executable from the gallery-dl GitHub releases page.
- Put
gallery-dl.exein your TwitterDownloader folder (created in Step 1). - Open PowerShell at the right folder:
- Right-click the TwitterDownloader (Windows 11) folder or Shift + Right-click (older Windows)
- Choose Open in Terminal (Windows 11) or Open PowerShell window here (older Windows).
- Verify the install:
.\gallery-dl.exe --version
Troubleshooting error: not a valid application
If you see a “Not a valid application for this platform” error:- First install the Microsoft Visual C++ Redistributable referenced on the gallery-dl GitHub page.
- If it still fails, download the x86 build from the releases page and run it using its exact filename, for example:
.\gallery-dl_x86.exeinstead of.\gallery-dl.exe
Step 3: Install Get cookies.txt LOCALLY and export your cookies 🔗
We need your Twitter login cookies so gallery-dl can fetch your likes and bookmarks.
To do this we use a browser extension called Get cookies.txt LOCALLY.
Install the extension:
Go to x/Twitter and make sure you’re signed in.
While on the website, open the “Get cookies.txt LOCALLY” extension. Set export format to Netscape, Press Export As, navigate to our TwitterDownloader folder on the desktop and save it as:
x.com_cookies.txt
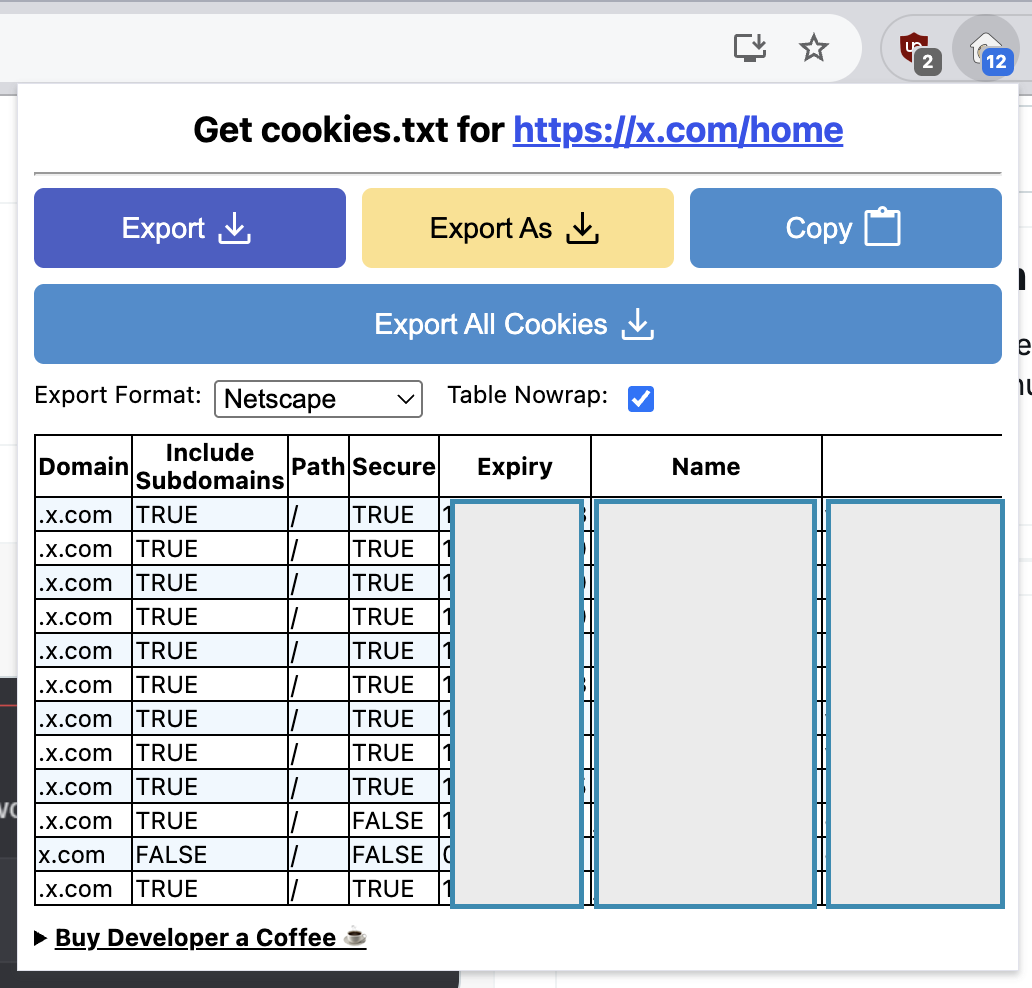
Export Window of the extension
After this step, your folder should look like this:
Desktop
└── TwitterDownloader
    ├── downloads
    ├── x.com_cookies.txt
    └── gallery-dl.exe   (Windows only)
Step 4: Create the config file 🔗
We now need to create a file that tells gallery-dl what to download and where to save it.
This file is called config.json.
- Open a text editor like Notepad on Windows or TextEdit on Mac (if using TextEdit make sure you’re in plaintext mode “Format > Make Plaintext”)
- Copy the following content into the file:
{
  "base-directory": "downloads",
  "extractor": {
    "twitter": {
      "cookies": "x.com_cookies.txt",
      "videos": true,
      "retweets": false,
      "quoted": false,
      "replies": false,
      "directory": [],
      "filename": "{tweet_id}_{author[name]}_{num}.{extension}"
    }
  }
}
- Save the file as config.json inside your TwitterDownloader folder. Make sure it is saved as
config.jsonand notconfig.json.txt.
What this config does 🔗
- base-directory → tells gallery-dl to save everything in the
downloadsfolder. - cookies → points gallery-dl to the file you exported in Step 3.
- videos: true → downloads videos as well as images.
- retweets / quoted / replies: false → only downloads media from original tweets you liked or bookmarked. Adjust if needed.
- filename → gives every file a name that includes the tweet ID and author.
After this step, your folder should look like this:
Desktop
└── TwitterDownloader
    ├── downloads
    ├── x.com_cookies.txt
    ├── config.json
    └── gallery-dl.exe   (Windows only)
Step 5: Start downloading 🔗
For either Windows or Mac we just need to make sure we’re in the right folder. Open Powershell or Terminal type first type
cd
Hit space then drag-and-drop the TwitterDownloader folder into the window. That will print out it’s path. Hit enter

This works both on Windows and MacOS
We’re ready to transfer! Run these commands one at a time. Make sure to replace <your-username> with your own username and remove the brackets ‘<>’.
macOS
python3 gallery-dl --config config.json "https://x.com/i/bookmarks"
python3 gallery-dl --config config.json "https://x.com/<your-username>/likes"
Windows
.\gallery-dl.exe --config .\config.json "https://x.com/i/bookmarks"
.\gallery-dl.exe --config .\config.json "https://x.com/<your-username>/likes"
All the media will appear inside the downloads folder. Each file name will include the tweet ID, so you can always reconstruct the original link:
https://x.com/i/status/<tweet_id>